You know me very well by now…
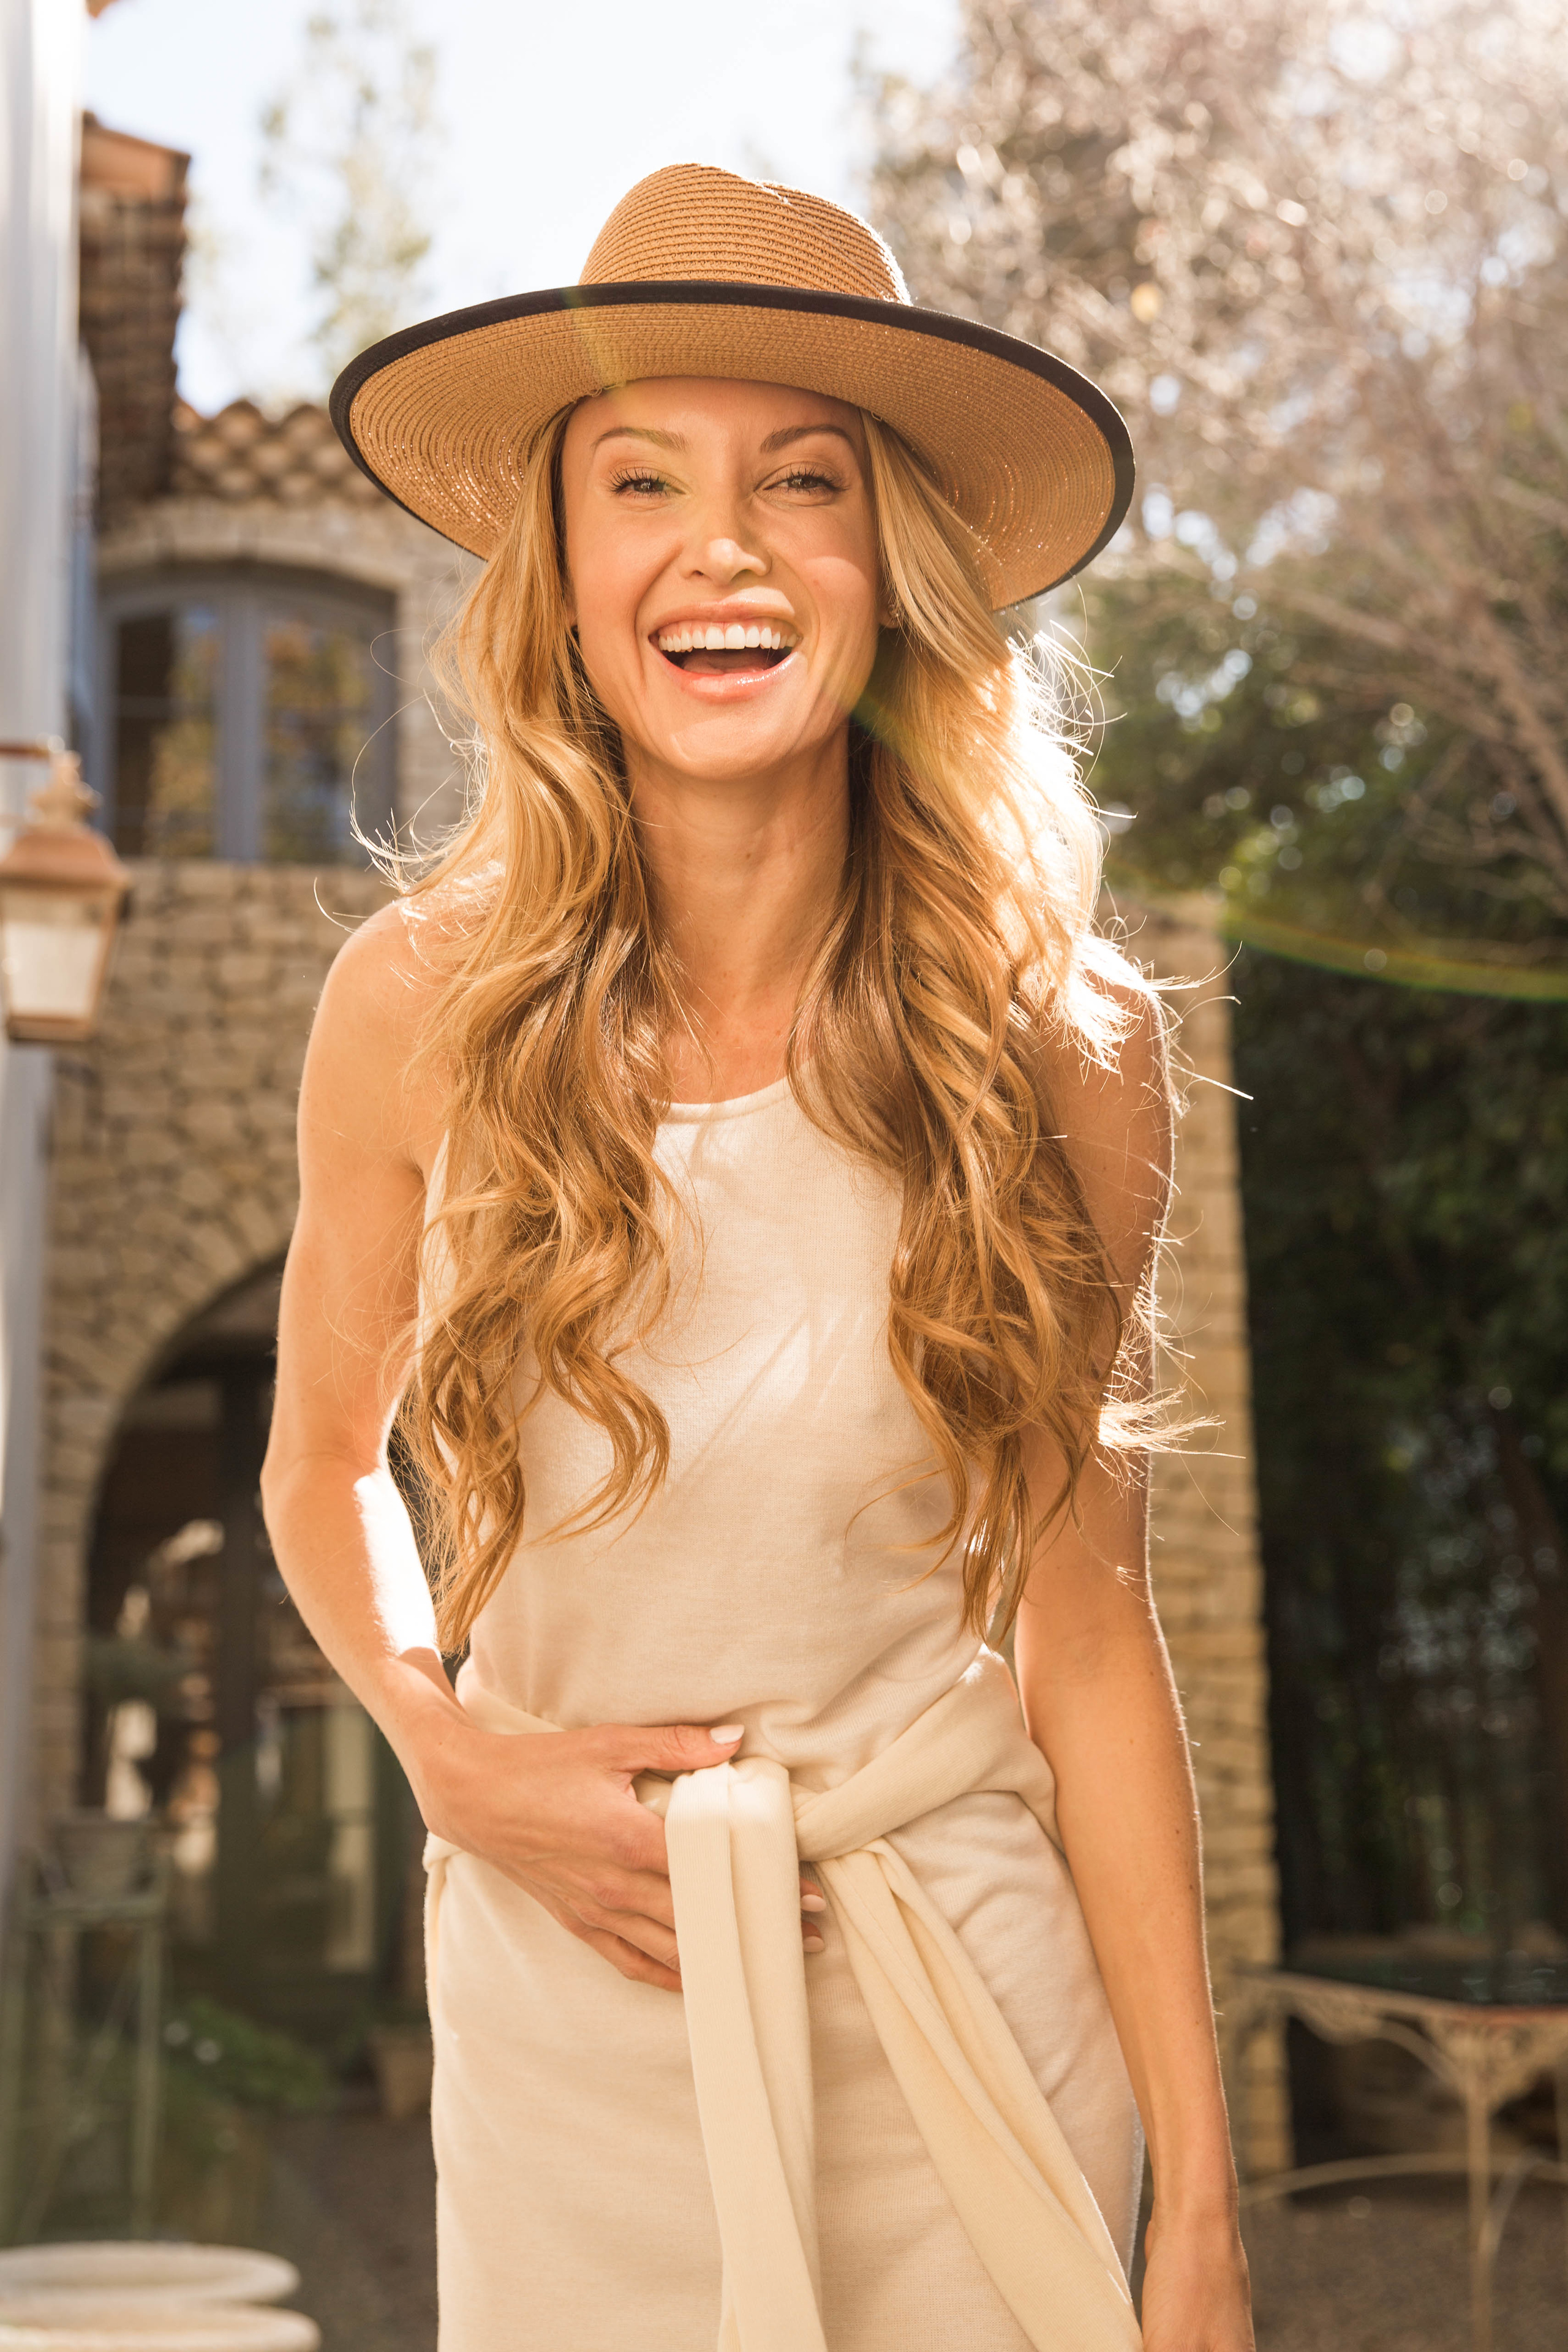
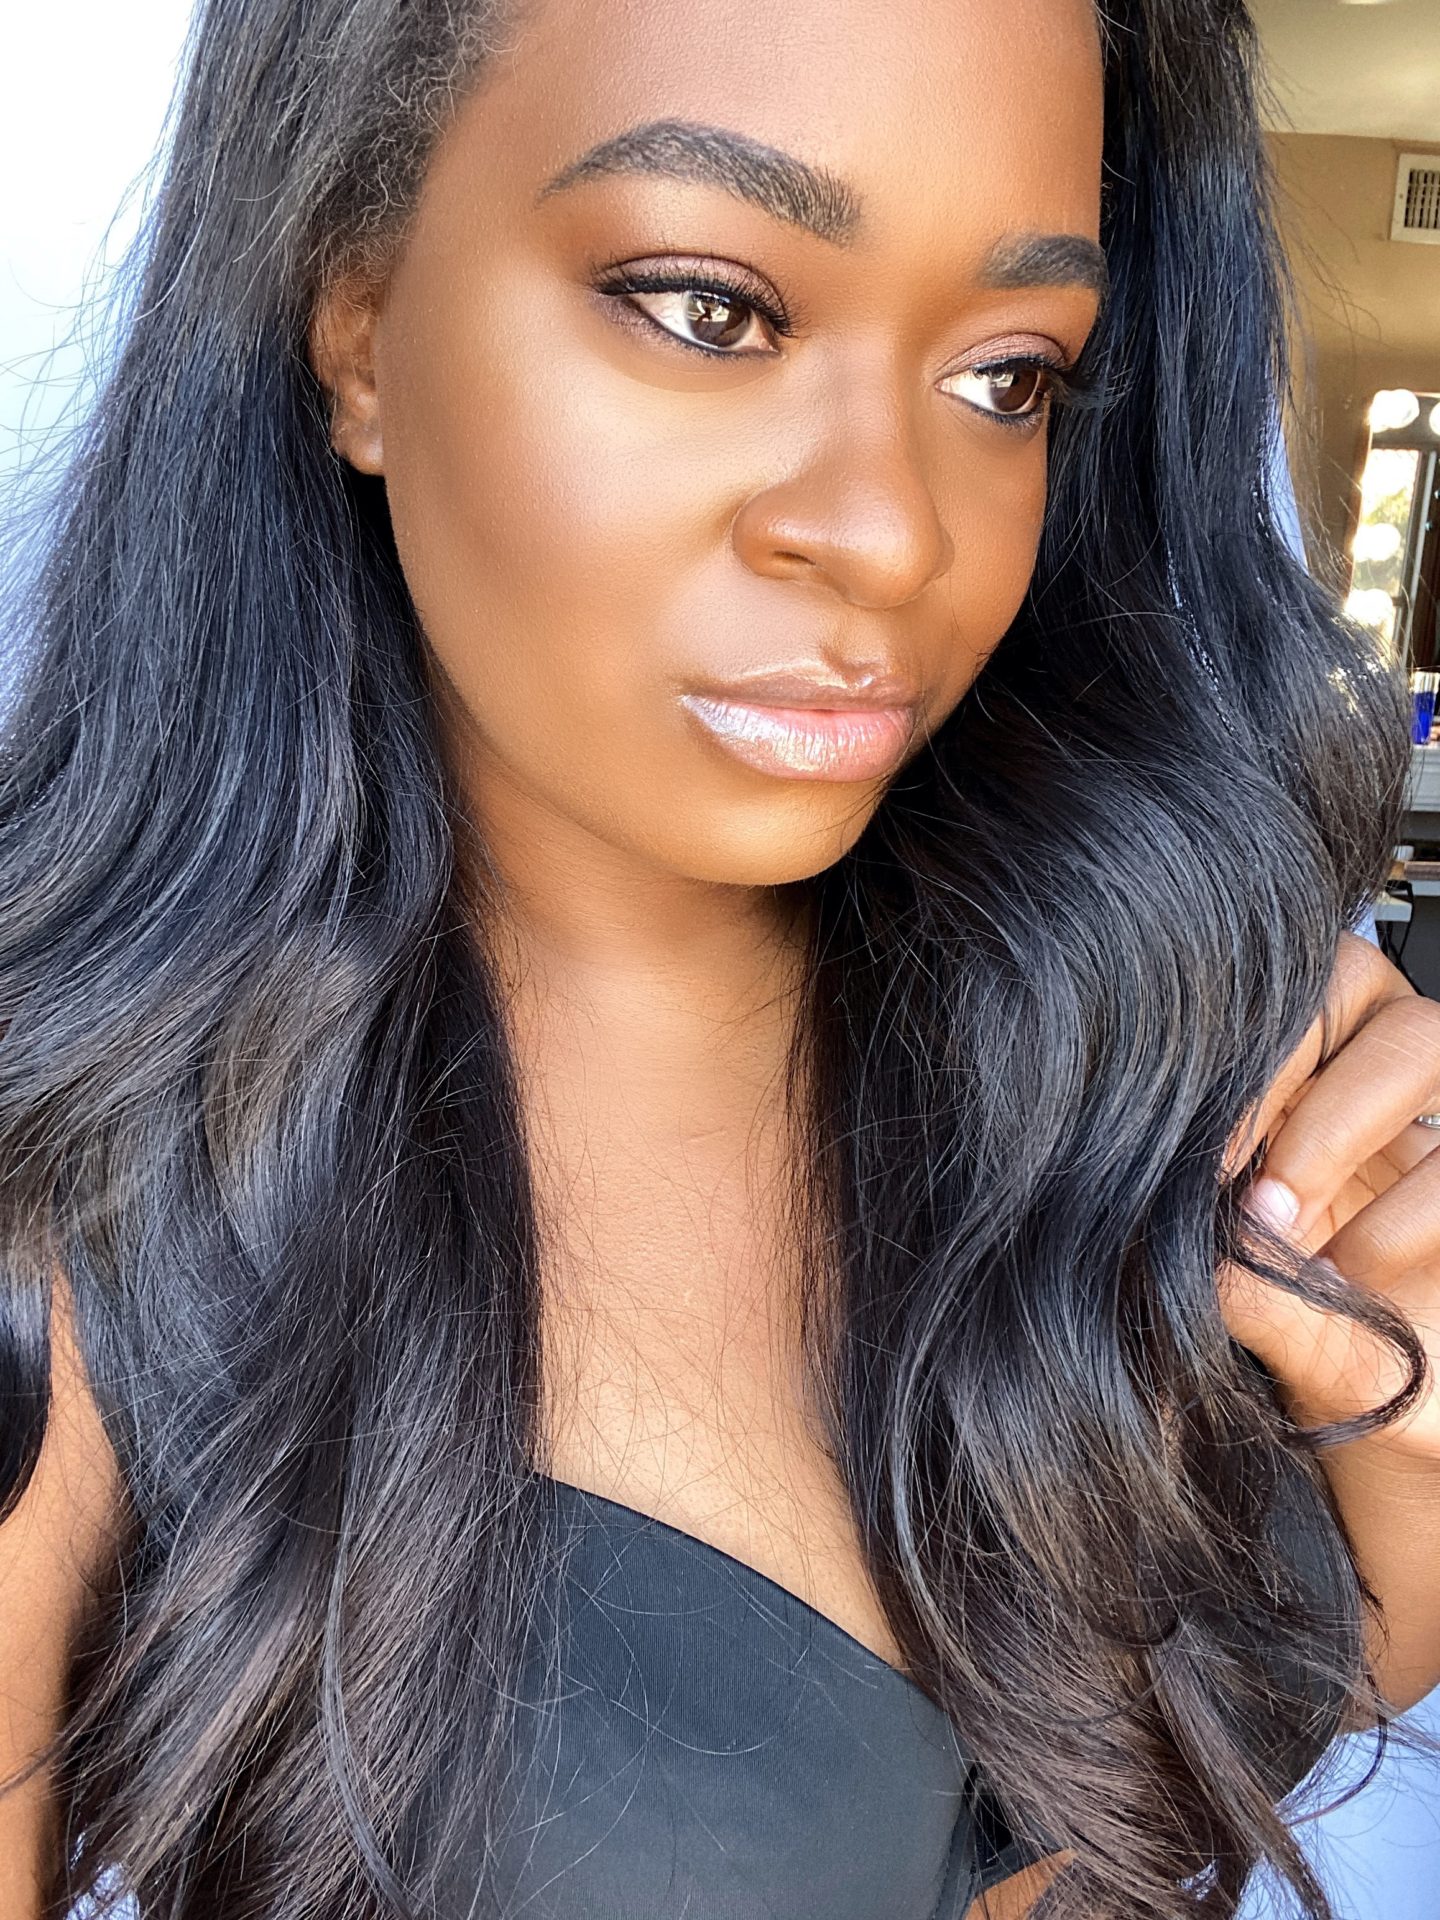
I am in love with a good head of tousled, loose waves. It’s my go to style for myself and for my clients. By way of doing them all the time, I have developed a tried and true process that never fails me. These three steps will have your curls looking voluminous, textured and delightfully lived in. For each step, I’ll suggest some of the products and tools I use on myself and clients. Without any further ado, let me take you through them now!
Step One: Prep and Shake
This is the most important step that I used to skip all the time. You have to start to define your hair before you take a curling iron or wand to it. Here’s how I do this step:
- Pick up random sections of your hair
- Spritz your favorite texture or sea salt spray through the interior of the hair.
- As you spray the product in, gently shake the section of hair in your hand to rough up your natural texture and further distribute.
- Make sure to flip your head upside down and to either side.
Step Two: Curl and Tug
If you want your curls to look loose and relaxed all day, there’s one additional step you might want to add to your curling regimen. Stretching the curls as you go will prevent them from being too tight and Shirley Temple-ish (though I love her). I do it this way:
- Working from the front around, I take random sized sections of hair and curl with a wand or iron from the top down.
- Once you’re finished with the curl, take the end of it and gently tug it downward.
- Lay the curl down to let it cool and repeat.
Step Three: Smooth and Define
Now it’s time to finish the hair. You can use the same spray you used in step one if you like, but I like to focus on products that smooth and define for this step. My favorite types are balms that add shine and provide definition simultaneously. This is how I like to finish:
- Put a dime sized amount of a texturizing/shine balm or oil in your hands and rub them together.
- Instead of smashing the hair down, gently scrunch the curls from underneath with your hands.
- Use a bit more to smooth down any extraneous flyaways and pull through your ends for shine and separation.
I hope these few tips will help you to construct the easiest, quickest curls of your life! What are your favorite products and methods for curls? Can’t wait to talk to you soon!

Disclaimer: The links within this post are affiliate links, meaning that if you click on any of them or make a purchase, I may receive a small commission. This helps to support The Brilliant Aesthetic. All thoughts and opinions are my own, and I am not sponsored by any of the brands mentioned.